December 2, 2016
Take steps now to prepare your WaterMatic for winter
|

|
With a blink of an eye, winter will be here. In this post, you will find a series of useful steps that will help you prepare your waterer for winter so your animals can enjoy fresh water every day.
|
|
|
Freezing Climates – Optional Heat ProtectionRitchie WaterMatic series units do not come standard with heat, however, if you live in an area where temperatures reach freezing or below, the additional heater will be needed.
Follow the steps below to ensure proper function of your existing heaters.
How to test your Immersion Heater
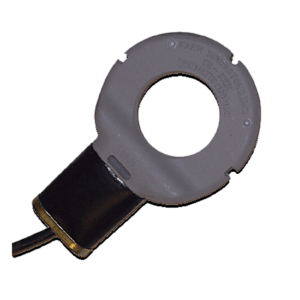 The best time to test your heaters is now when the weather is warm. After all, replacing parts in the middle of winter is something we want you to avoid. To test the heaters follow the steps below.
Removed Heater
We recommend that the immersion heater is removed during the warmer months to elongate the life of the heater. If this has been done you can test the heater two ways.
Watch how to test your immersion heater below.

Installed Heater
If the heater has remained in the trough during the summer, clean heater of deposits that may have accumulated, ensure that the electricity is on to the unit and immerse in a bucket of ice water to trigger the thermostat. The heater can be removed and follow the steps above.
If your immersion heater is not becoming noticeably warm to the touch a new heater will need to be purchased. Heaters can be purchased through a local dealer, online, or direct at 800-747-0222.
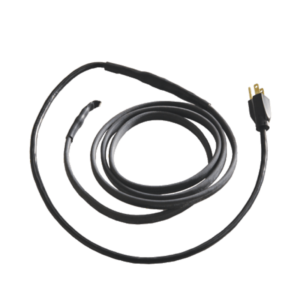
NOTE: If you live in an area that has long periods of freezing temperatures, a Self Regulating Heat Cable is strongly recommended to protect your valve and water line from freezing. These heaters are extremely reliable and will need to be checked once the temperatures reach below 40 degrees Fahrenheit.
|
|
|
General Winter Maintenance and Warm ClimatesWhile the following tasks may seem minor, they have the potential to make a significant difference in the performance of your waterer.
1. Check the all-weather sealant around the base of the unit and the concrete pad to ensure no gaps have formed that would allow air to penetrate the underside of the unit. Replace the all weather sealant if needed.
2. Remove side access panel to verify that the waterline is not touching the side of the riser tube or side of the unit. Frost has the ability to travel from one object to the next. Centering your waterline will prevent frost from potentially freezing your line.
3. The WaterMatic series features water seal groove along the top of the red valve chamber. This groove is intended to hold water during the winter creating an impenetrable seal against wind and cold. Fill this groove with water or vegetable oil. TIP: When filling the water seal groove with water, for easy lid removal, spray the underside of the cover with a cooking spray.
4. Clean the waterer. Cold winter weather makes cleaning a very cold chore. Cleaning your waterer ahead of time will help to provide fresh water throughout the winter. Watch the video below on how to clean your WaterMatic series waterer.
|
