

With a blink of an eye, winter will be here. In this newsletter, you will find a series of useful steps that will help you prepare your waterer for winter so your animals can enjoy fresh water every day.
How to test your heaters
The best time to test your heaters is now, when the weather is warm. After-all, replacing parts during the dead of winter is something we want you to avoid. To test the heaters follow the steps below:
1. Double check that the electricity is on to the unit especially if you have your OmniFounts wired through a junction box.
2. Open trough by removing the wing-nuts.
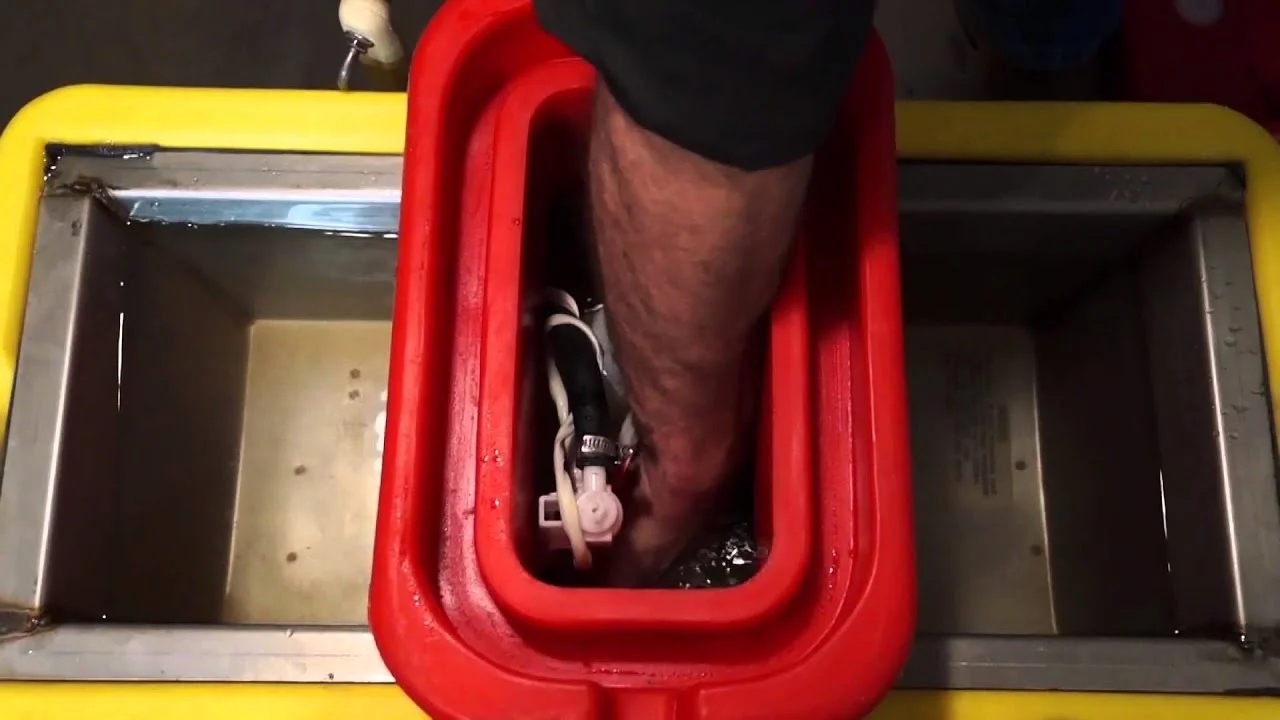
3. Pour a bucket of ice into the trough area. This will cool the water enough to trigger the disc thermostat and turn the heaters on. The heaters on the underside of the trough and the cable heater around the valve will all become noticeably warm to the touch.
If your heaters do not turn on, follow the steps above one more time to ensure your trough cooled enough to trigger the thermostat. Once it has been determined that the heaters are not functioning, see the scenarios below to find the parts that you are needing to replace.
Replacing the heating components
You have determined that some or all of your heaters are not working in your OmniFount waterer. Below is a list of scenarios and replacement parts that will help you get your OmniFount functioning.
1. Heater(s) on the trough is working but the cable heater around the valve is not turning on. All of the heaters in the OmniFount units are wired through the thermostat. If your cable heater is not working but the other trough heaters are, it is time to replace the cable heater. This will help prevent your valve and water supply from freezing.
2. The cable heater working but trough heater is not becoming hot. All of the heaters in the OmniFount units are wired through the thermostat. If your trough heater (one or both in the two trough units) is not working but the cable heater around the valve is, it is time to replace the trough heaters. This will give added protection to the stainless steel trough and prevent it from freezing.
3. No heaters are turning on. In most cases, this would indicate that your thermostat needs to be replaced. Ensure your electric is on to the unit.
NOTE: If in the off chance that your thermostat is no longer functioning, we recommend replacing all of the heaters at the time you change the thermostat. This will ensure that all of your heaters are functioning at the time of replacement.
Small Units – Omni 1, Omni 2, Omni-2 Special
Heater 125W #14150
Mounts to the underside of the trough
Heater 125W #13830
Mounts to the underside of the trough
Disc Thermostat #11885
Regulates the temperature in your OmniFount waterer
Large Units – Omni 3, Omni 5, Omni 10
Individual parts are not available online at this time. To order, please visit our Dealer Map to locate a dealer near you or call 800-747-0222.
Trough Heaters, Part #11419
Cable Heater, Part #13830
Fenwal Thermostat, Part #16534
General Winter Maintenance
While the following tasks may seem minor, they have the potential to make a significant difference in the performance of your waterer.
1. Check the all-weather sealant around the base of the unit and the concrete pad. Ensure there are no gaps where air can penetrate the underside of the unit. Replace the all-weather sealant if needed.
2. Remove side access panel to verify that the waterline is not touching the side of the riser tube or side of the unit. Frost has the ability to travel from one object to the next. Centering your waterline will prevent frost from potentially freezing your line.
3. Clean the unit. The winter weather reduces the number of times the waterer is cleaned until spring. Cleaning now will help to maintain a cleaner water supply.
If you have additional questions, feel free to contact your local Ritchie dealer or Ritchie Customer service at 800-747-0222 7:30-4:00 PM CST.
With a blink of an eye, winter will be here. In this newsletter, you will find a series of useful steps that will help you prepare your waterer for winter so your animals can enjoy fresh water every day.
How to test your heaters
The best time to test your heaters is now, when the weather is warm. After-all, replacing parts during the dead of winter is something we want you to avoid. To test the heaters follow the steps below:
- Double check that the electricity is on to the unit especially if you have your Ecofounts wired through a junction box.
- Open trough by removing the wing-nuts.
- Pour a bucket of ice into the trough area. This will cool the water enough to trigger the disc thermostat and turn the heaters on. The heaters on the underside of the trough and the cable heater around the valve will all become noticeably warm to the touch.
- If your heaters do not turn on, follow the steps above one more time to ensure your trough cooled enough to trigger the thermostat. Once it has been determined that the heaters are not functioning, see the scenarios below to find the parts that you are needing to replace.
Replacing the heating components
You have determined that some or all of your heaters are not working in your EcoFount waterer. Below is a list of scenarios and replacement parts that will help you get your EcoFount functioning.
- Heater(s) on the trough is working but the cable heater around the valve is not turning on. All of the heaters in the EcoFount units are wired through the thermostat. If your cable heater is not working but the other trough heaters are, it is time to replace the cable heater. This will help prevent your valve and water supply from freezing.
- The cable heater working but trough heater is not becoming hot. All of the heaters in the EcoFount units are wired through the thermostat. If your 125 watt trough heater (one or both in the EcoFount 2) is not working but the cable heater around the valve is, it is time to replace the 125 watt heater(s). This will give added protection to the stainless steel trough and prevent it from freezing.
- No heaters are turning on. In most cases, this would indicate that your thermostat needs to be replaced. Ensure your electric is on to the unit.
NOTE: If in the off chance that your thermostat is no longer functioning, we recommend replacing all of the heaters at the time you change the thermostat. This will ensure that all of your heaters are functioning at the time of replacement.
Heater 125W #14150
Mounts to the underside of the trough
Heater 125W #14150
Mounts to the underside of the trough
Disc Thermostat #13830
Regulates the temperature in your Ecofount waterer
General Winter Maintenance
While the following tasks may seem minor, they have the potential to make a significant difference in the performance of your waterer.
Check the all-weather sealant around the base of the unit and the concrete pad. Ensure there are no gaps where air can penetrate the underside of the unit. Replace the all-weather sealant if needed.
Remove side access panel to verify that the waterline is not touching the side of the riser tube or side of the unit. Frost has the ability to travel from one object to the next. Centering your waterline will prevent frost from potentially freezing your line.
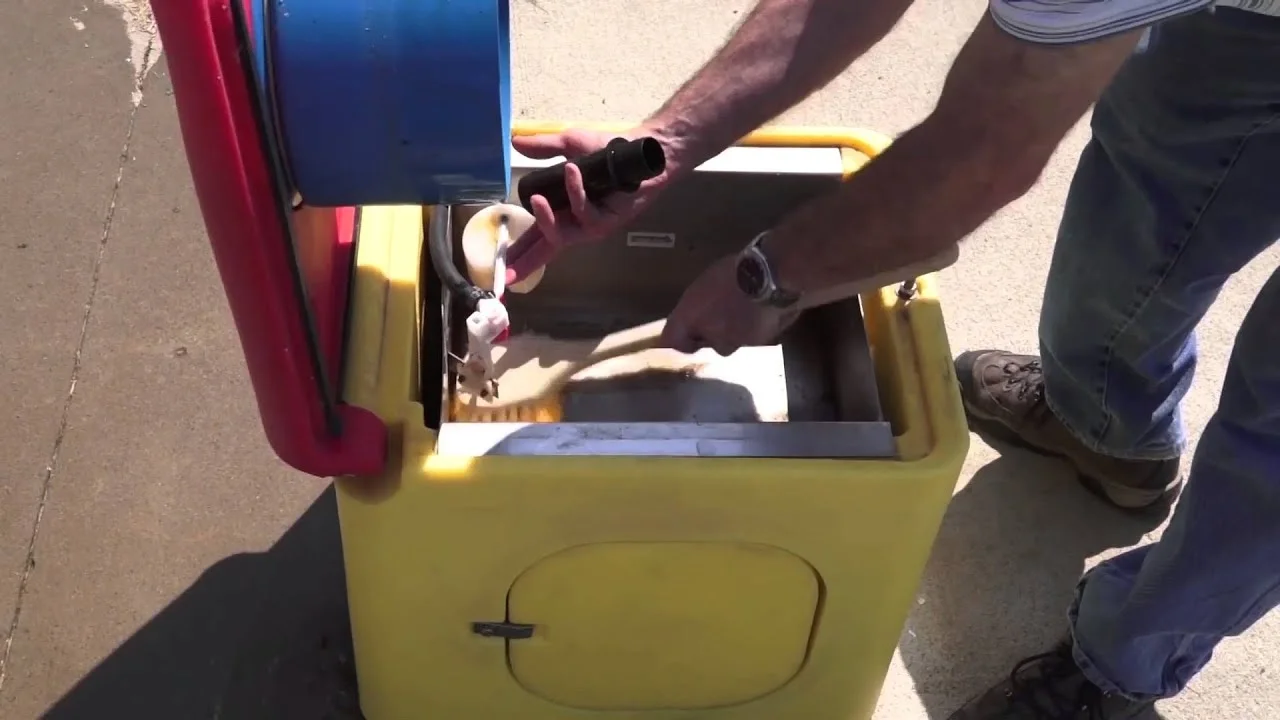
Clean the unit. The winter weather reduces the number of times the waterer is cleaned until spring. Cleaning now will help to maintain a cleaner water supply.
If you have additional questions, feel free to contact your local Ritchie dealer or Ritchie Customer service at 800-747-0222 7:30-4:00 PM CST.
|

|
With a blink of an eye, winter will be here. In this post, you will find a series of useful steps that will help you prepare your waterer for winter so your animals can enjoy fresh water every day.
|
|

Freezing Climates – Optional Heat ProtectionRitchie WaterMatic series units do not come standard with heat, however, if you live in an area where temperatures reach freezing or below, the additional heater will be needed.
Follow the steps below to ensure proper function of your existing heaters.
How to test your Immersion Heater
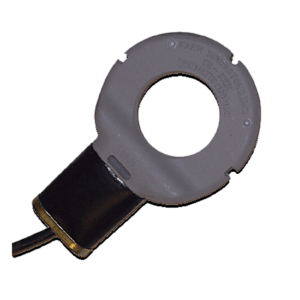 The best time to test your heaters is now when the weather is warm. After all, replacing parts in the middle of winter is something we want you to avoid. To test the heaters follow the steps below.
Removed Heater
We recommend that the immersion heater is removed during the warmer months to elongate the life of the heater. If this has been done you can test the heater two ways.
Watch how to test your immersion heater below.

Installed Heater
If the heater has remained in the trough during the summer, clean heater of deposits that may have accumulated, ensure that the electricity is on to the unit and immerse in a bucket of ice water to trigger the thermostat. The heater can be removed and follow the steps above.
If your immersion heater is not becoming noticeably warm to the touch a new heater will need to be purchased. Heaters can be purchased through a local dealer, online, or direct at 800-747-0222.
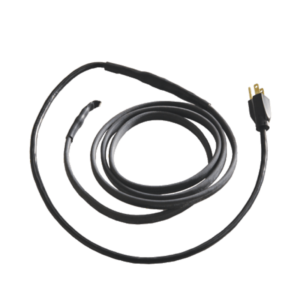
NOTE: If you live in an area that has long periods of freezing temperatures, a Self Regulating Heat Cable is strongly recommended to protect your valve and water line from freezing. These heaters are extremely reliable and will need to be checked once the temperatures reach below 40 degrees Fahrenheit.
|
|
General Winter Maintenance and Warm ClimatesWhile the following tasks may seem minor, they have the potential to make a significant difference in the performance of your waterer.
1. Check the all-weather sealant around the base of the unit and the concrete pad to ensure no gaps have formed that would allow air to penetrate the underside of the unit. Replace the all weather sealant if needed.
2. Remove side access panel to verify that the waterline is not touching the side of the riser tube or side of the unit. Frost has the ability to travel from one object to the next. Centering your waterline will prevent frost from potentially freezing your line.
3. The WaterMatic series features water seal groove along the top of the red valve chamber. This groove is intended to hold water during the winter creating an impenetrable seal against wind and cold. Fill this groove with water or vegetable oil. TIP: When filling the water seal groove with water, for easy lid removal, spray the underside of the cover with a cooking spray.
4. Clean the waterer. Cold winter weather makes cleaning a very cold chore. Cleaning your waterer ahead of time will help to provide fresh water throughout the winter. Watch the video below on how to clean your WaterMatic series waterer.
|

Water quality can affect land and cattle productivity
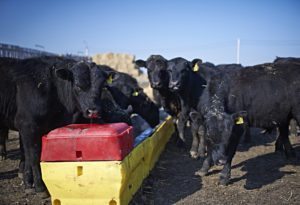 Let’s face it, cattle are naturals at drinking as long as there is a water source and access. What else is there to think about?
The importance of water deserves the time and attention of cattle producers. Cattle simply cannot be healthy and gain well without good quality water. It pays to give this fundamental need a checkup. What’s more, ensuring pastures have a high-quality, sustainable and uncontaminated water source is a key component to environmental stewardship.
Check the Temperature
Water deprivation caused by high temperatures is usually accompanied with lack of green forage. In the absence of drought conditions, fresh forage can actually supply some of the daily water requirements for grazing cattle. Without adequate grazing, this situation can quickly lead to dehydration when producers consider that a healthy heifer can drink up to 20 gallons each day in the warmer months, according to the Texas A&M Veterinary Medical Diagnostic Laboratory.
Streams and ponds contaminated with green algae, parasites or other contaminants can all discourage the animal to fully hydrate. In drought conditions, many surface water sources evaporate completely or are so stagnant the animals refuse to drink.
In winter months, water temperature is still an issue. In the case of surface water and large-volume tanks, freezing also is a constant problem. Even if the water source is not frozen, water at, or near, freezing is not palatable for the animals. This can cause lower levels of hydration in the winter too and result in stress. As we all know, stress can lead to disease and other issues that may require a vet visit.
Contaminants and Stagnancy
Cattle will make the same choice as humans if given the option of a clear, cool glass of water or a smelly, murky warm drink. Ground water supplies inherently collect concentrations of fertilizer, herbicides, feces, urine and algae growth. Large-volume troughs are also breeding grounds for bad bacteria, mosquito larvae and attract other rodents or animals that can cause issues as well. Cattle producers should have a plan in place for keeping contaminants out of water sources and reducing sources that can become stagnant before extreme heat or cold arises.
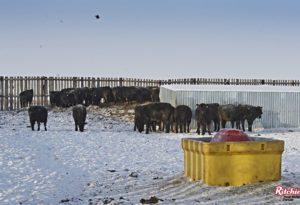 Animal Hydration
Severely dehydrated cattle show signs including sunken eyes, dry mucus membranes and reduced dry matter intake. At just 7 to 10 percent dehydration, cattle can experience impaired immune systems, according to Robert Ovrebo, DVM.
Automatic watering is a solution for eliminating the common instances of dehydration. Automatic waterers are designed and built for this exact purpose: to make sure animals have temperate, clean water on demand. The purpose of the automatic waterer is to guarantee access to a clean water source. Automatic waterers are able to mitigate the instances of disease caused by water borne contaminates, lack of access to fresh water and the under hydration that occurs when the water source is foul or the temperature is too hot or cold.
Environmental Stewardship
Automatic waterers, by design, eliminate waste. Large troughs create stagnancy and displace water when they are cleaned. Cleaning troughs can also be a labor-intensive job. In addition, these large troughs evaporate at a surprisingly fast rate. When choosing a watering solution, the footprint of the source and the amount of waste created should be a consideration.
Taking animals off of ponds and streams also has a positive effect on the land and the rest of the ecosystem that it supplies. The value of the land and producers’ ability to manage these resources work together in producing a thriving enterprise. A comprehensive watering strategy should consider:
• Animal health
• Land management and
• Environmental stewardship.
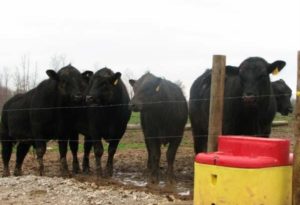 Water quality is the foundation for how cattle genetics, health, feeding and management strategies will either succeed or fail. Keeping cattle hydrated with the right mix of electrolytes is essential to an operation’s success. Conserving resources helps do this efficiently and preserve resources for other areas of the operation.
Ritchie waterers offers a range of automatic waterers that will suit a variety of needs. To locate your local Ritchie dealer visit our Dealer Locator. Dealer Locator.
###
Sources:
Texas A&M Veterinary Medical Diagnostic Laboratory. How to keep your cattle hydrated and healthy during a drought. Available at: https://tvmdl.tamu.edu/wp-content/uploads/2012/07/TVMDL-water-salt-intoxication-handout-8.12.pdf.
Ovrebo, Robert G. Bovine hydration. Drovers CattleNetwork. Jan. 17, 2011. Available at: http://www.cattlenetwork.com/bovine-vet/bv-magazine/bovine-hydration-113983004.html
Exclusive to Iowa Cattlemen Association Members, in the state of Iowa, you could win a trip for two to the NFR in Las Vegas with purchase of a Ritchie waterer.
Contest: ICA members will be entered to win into the drawing for a 3 day, 2 night trip for 2 to the NFR Rodeo in December. Included: Airfare, Hotel, and Tickets to the Rodeo.
Qualifications: Customer must be an ICA Member, For each Ritchie Water purchased the customer’s name is entered into a drawing for the trip
* Example: 1 ICA Member buys 2 Ritchie Waters = 2 Entries into the drawing
* Ritchie Water can be purchased from any retailer and be any size – Locate a dealer here.
How to Enter: ICA Members must send proof of purchase of a waterer to:
Ritchie Industries
Attn: Rob Amundson
P.O. Box 730
Conrad, IA 50621
Expires: October 15th, 2016
Save more by taking advantage of our Summer Rebate.